Nail Art Sticker Rolls Review for you guys. I have been reading negative reviews on most of the nail art tape products in the online websites. But when you look at it, it seems they are using the tapes in a different way. Here is how you can use it correctly.
Here is how i use the tape to create new nail art designs. Unfortunately my two of my nails broke a couple of days back. 🙁 That is why the pictures are weird. Once it becomes lengthier, I will upload more designs in the future.

Nail Art Tapes
When i ordered these tapes, this is how i got it. There were 10 of them. I think i bought the nail art tapes on offer but i cant remember now. I will leave the link here. You may buy anywhere as the quality is mostly the same.
It is priced around 100-150/-
Nail Art Tapes, Buy Now

It contains different colours. There was no repeated colours. Aren’t they pretty? 🙂

A single tape is really thin and hence can be used to make thin stripe designs on your nails.

I am not too sure how lengthy it is. It is not mentioned on the website or product page. Usually all other tapes and laces comes in a 9 metre roll. Probably this one could be the same.
It will last a long time.

How To Use Nail Art Tape?
First apply a base coat that is of a lighter colour. It doesn’t need to be perfect.

Wait until it dries completely. This is super important.
Now apply a top coat over it. Do not skip this.

Applying a top coat is to ensure that you can create neat and professional looking nail art designs. Not a messy one.
Proceed and apply the stripe in any design you like. It could be vertical lines, horizontal lines or even check boxes.
For first timers, Let’s try a simple one.

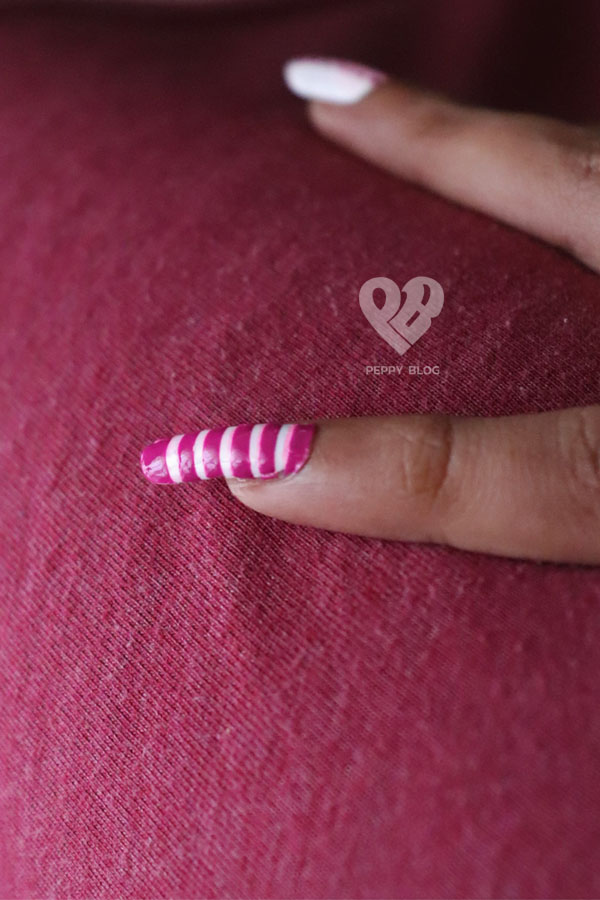
Now all you have to do is apply the colour of your choice on top of it. Here i have chosen magenta so that you can see clearly.
Peel off the tapes immediately after you apply the second coat of nail paint.
This is the most important step in getting those nice professional look on your nails. Once the nail paint starts to dry, it would be impossible to easily pull the tapes off. The lines and designs would look really messy.
Let it dry completely.
Apply a top coat and viola, it is done.

There are some designs that weren’t perfect. I made mistakes during the learning curve.

Can You Use The Nail Art Tape By Itself?
Yes, you may do that. But it did not stay for more than two days on my nails. I did apply a top coat to seal it and that still did not do much.
I do a lot of work in the kitchen, cleaning and other odd jobs. That could be why it peeled off so quickly. 🙁 But it did look amazing with its glittery finish. This method is the easiest if you have functions where you just need it to be perfect for a day or two. 🙂

This picture does not really do justice compared to how it looks in real. After i did this nail design, my nails kind of broke so i am now unable to create more photos.
As i said earlier i will keep trying to create easy new designs and will update them soon.
Nail Art Designs You Can Try
Aren’t the nails super pretty? 🙂

This does look like lot of work.

Who says pretty nails are for youngsters?

Classic red and silver nail paint. You may give it your own twist.

There are no rules to nail art designs. Be creative.

It may take 2-3 times to get the hang of it. But it is worth the money and time spent.