


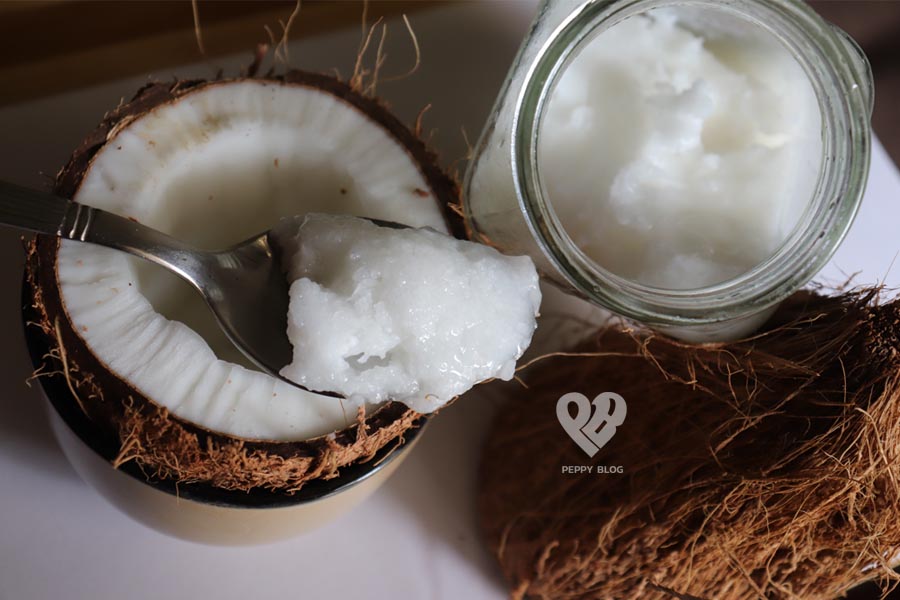
I am going to show you how to make extra virgin coconut oil at home in easy steps. We wont be using any HEAT at all to make this. It is totally worth your the time and effort.
I have given PHOTO instructions and a VIDEO to help you guys get a better understanding on how to make virgin coconut oil from coconut milk.
In my next video, i will show you how to make coconut oil from coconut milk instantly. Ok, Instant in this case would be three hours. 🙂
Store the coconut oil in the refrigerator to make it last longer.
VIDEO TUTORIAL
Why I Make Virgin Coconut Oil At Home?
My skin breaks out from store bought virgin coconut oil. It never happened when i use homemade virgin coconut oil.
Also, it is Cost Effective when compared to Store Bought Coconut Oil
The store bought virgin oil had a weird smell while, the homemade coconut oil only has a very mild fragrance. The smell does not linger either.
This may not make sense BUT, the homemade coconut oil feels light weight on my skin when compared to the brands i have tried before.
My husband never complains when i apply homemade virgin coconut oil on his skin and hair. The usual complaints are about its smell and greasy film that the oils leave behind. He really wont sit still until the oil has been rinsed out.

Lets get started on how to make virgin coconut oil at home using the cold press method.
1. Choose The Right Coconut
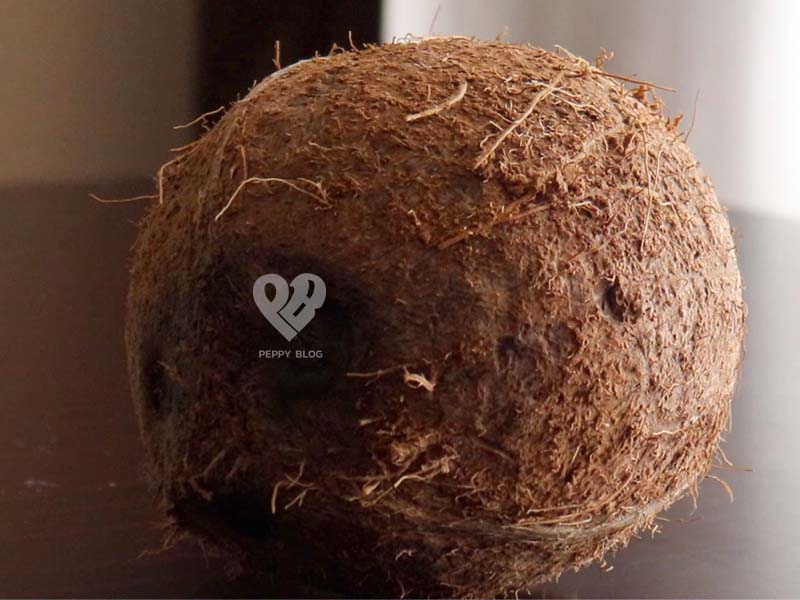
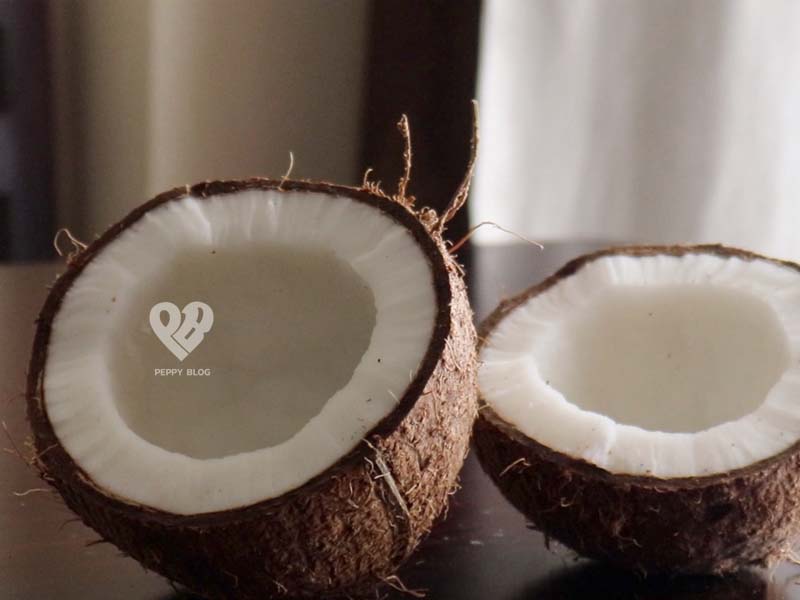
Always choose mature coconut to prepare coconut oil. Tender coconuts may not have much oil in them.
How Do You You Recognise Mature Coconuts?
Look for dark brown shelled coconuts. (Like below)
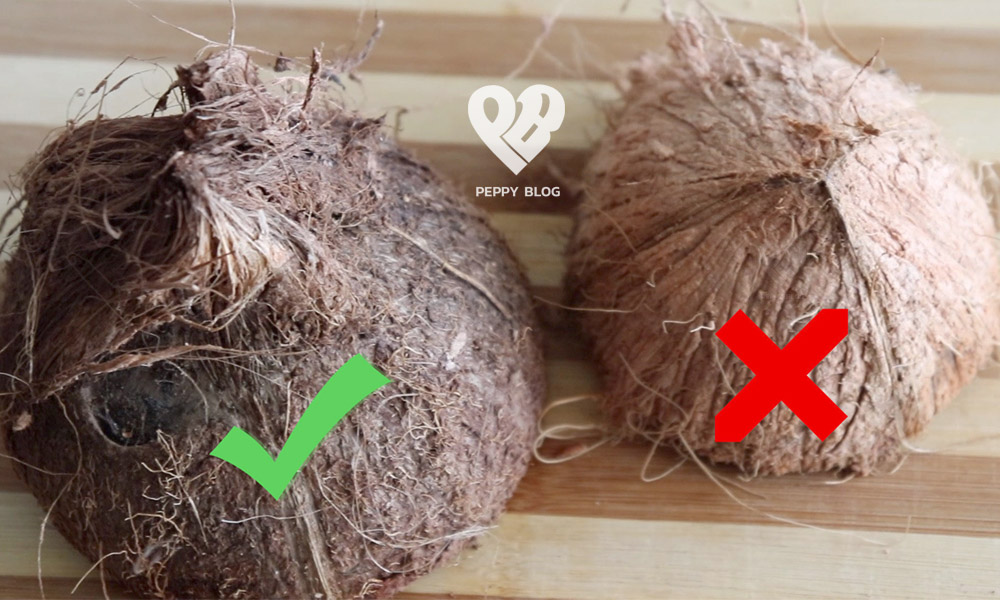
Hope the below comparison give you a clear idea on mature coconuts.
How Many Coconuts To Use?
Use of a minimum of 4 big coconuts to get about 150 ml of coconut oil. There is no exact quantity. Depending on the size of the coconuts, the amount of oil also differs every single time.
Next,
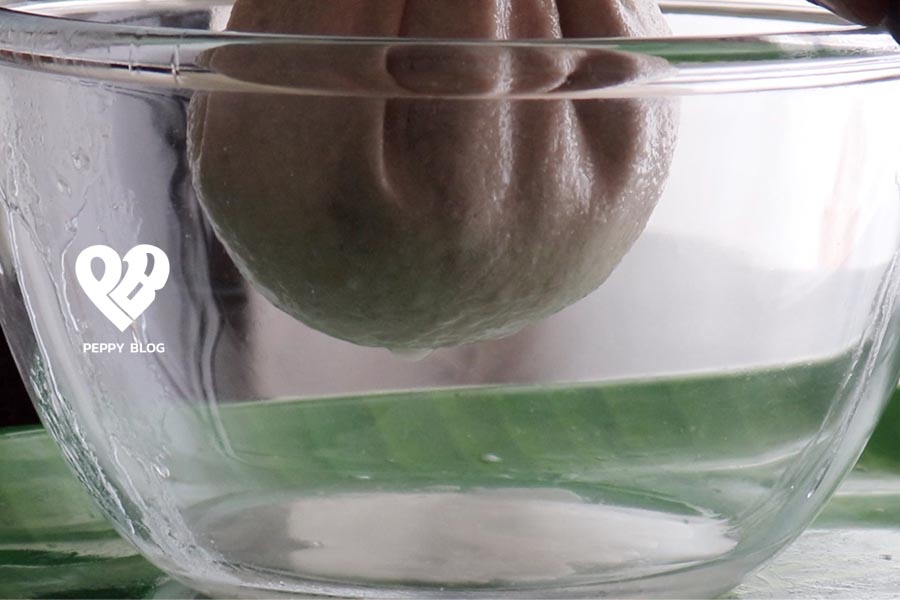
Poke a hole in the softest eye of the coconut. The coconut has Three Eyes of which one will be softer than the other two.
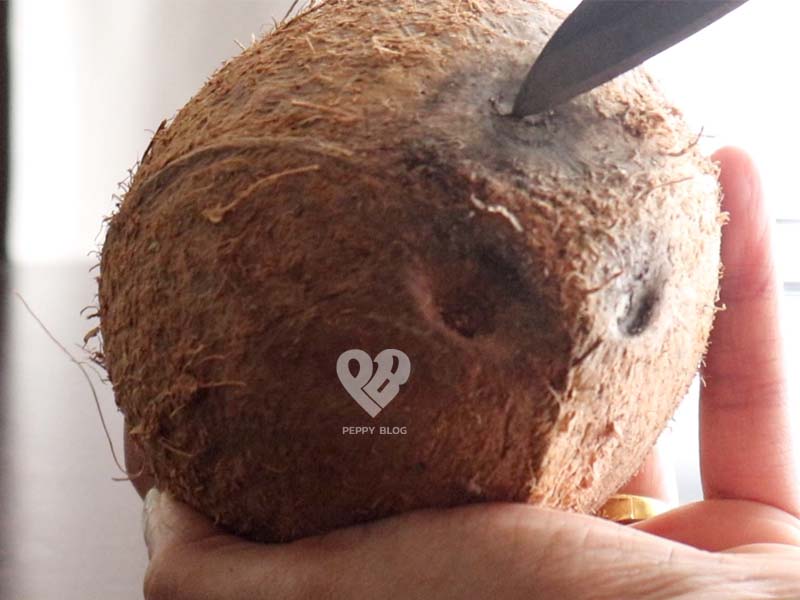
Pour the coconut water to a bowl. You may drink this or refrigerate for future use.
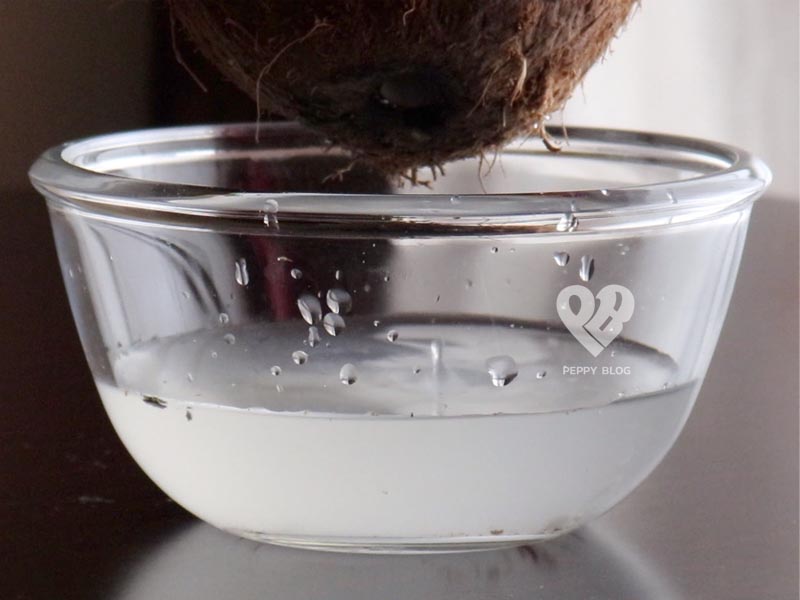
Repeat the same for all the other coconuts.
2. Split Open The Coconuts
Do not have any tools with you?
Worry Not 🙂
Place the coconut in a piece of clean cloth or old t-shirt. Cover the coconuts within the cloth so that no pieces would fly out while breaking.
Swing it and hit the floor until the coconuts are smashed open.
You may not get to open in to two halves but in to multiple pieces. And, That’s Fine too.
This is the safest method of splitting open a coconut when you do not have any tools with you.
3. Scoop The Flesh Out
Use a knife to carve the pieces out or a coconut scrapper to scrap only the white part of the coconut.
Many electric scrappers are available in the market. I have never used one But, My mother owns one. It comes with a set of gloves too.
Note, I do not take the brown skin off the coconut flesh. The recipe works either way. So it is fine to leave it as it is.

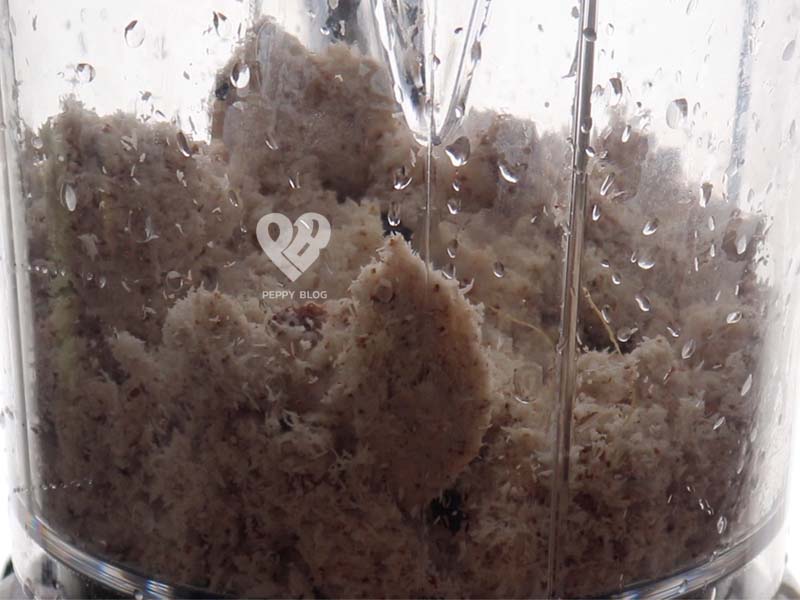
4. Blend The Coconut
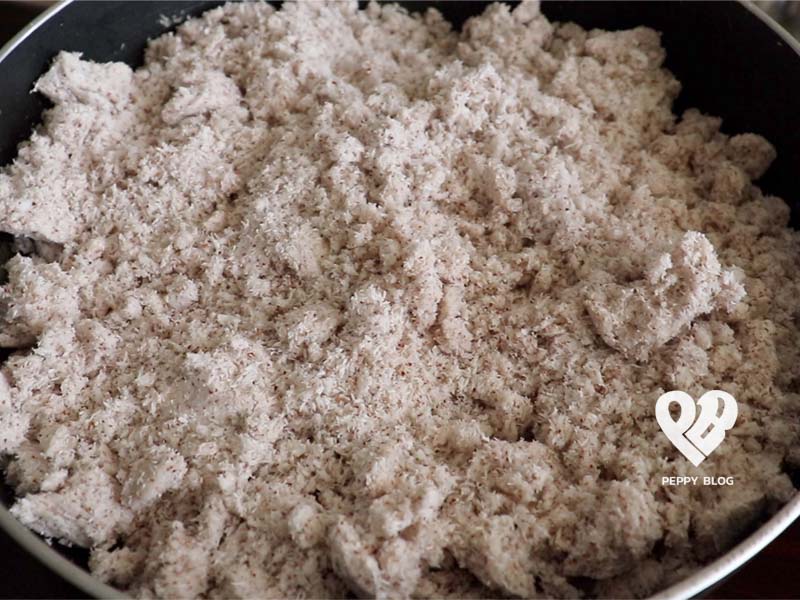
Add a small amount of coconut scraps to the blending jar.
Use as little water as possible while blending.
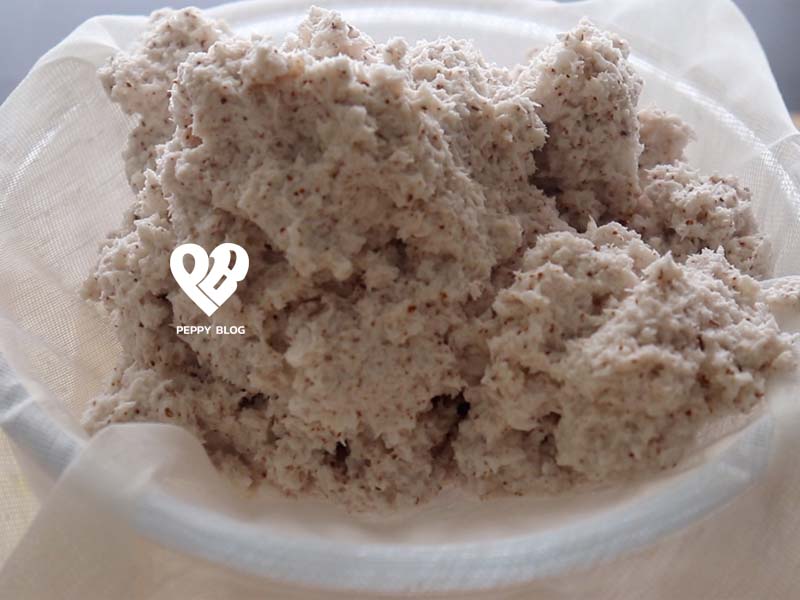
Blend on high speed or until the coconut pieces look similar to the below pic.
Now, Transfer the contents to a clean piece of cloth or to a nut milk bag.
5. Extract coconut milk
Squeeze the cloth tightly to extract most of the coconut milk.

When you are done extracting the coconut milk, set the pulp aside for now. You need to blend this again later.
Similarly, Blend and extract the coconut milk from the remaining coconut pieces.
This picture shows the pulp after blending all four coconuts.
Blend And Extract Again
We need to blend the pulp we set aside earlier to extract as much coconut milk out of it as possible.
Add just enough water and not more.
Extract the coconut milk using the same method we did earlier.
Discard the pulp as there wont be much flavor left in it even if we try to extract coconut milk the third time.
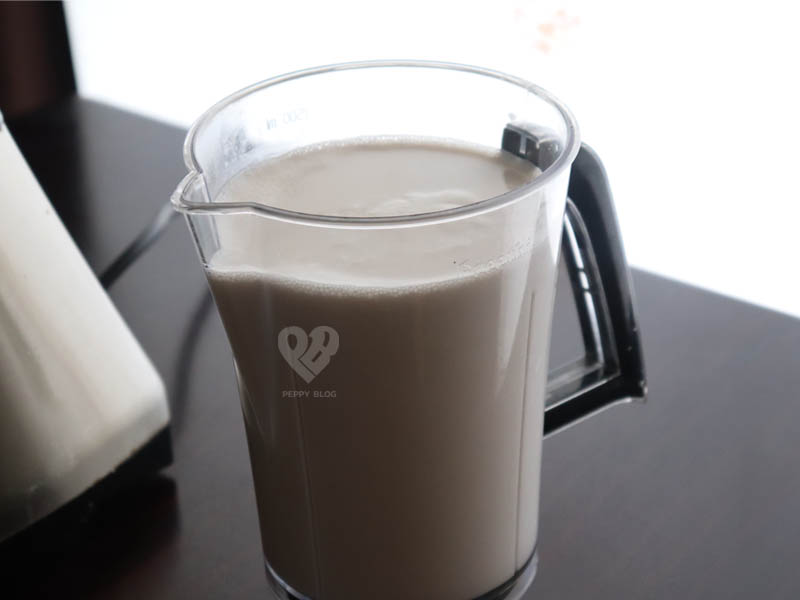
Filter it to remove any shreds of coconut.
And now the coconut milk extraction process is completed. 🙂
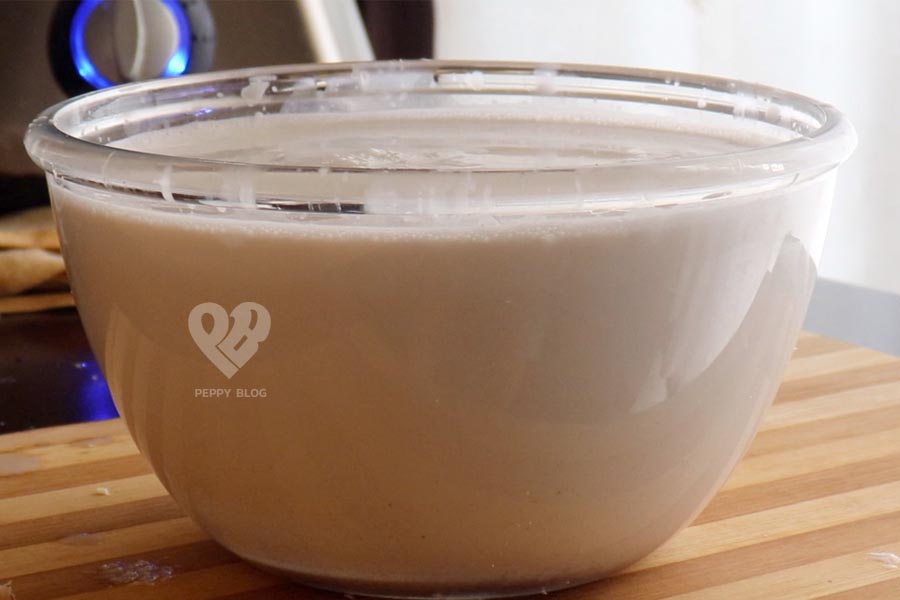
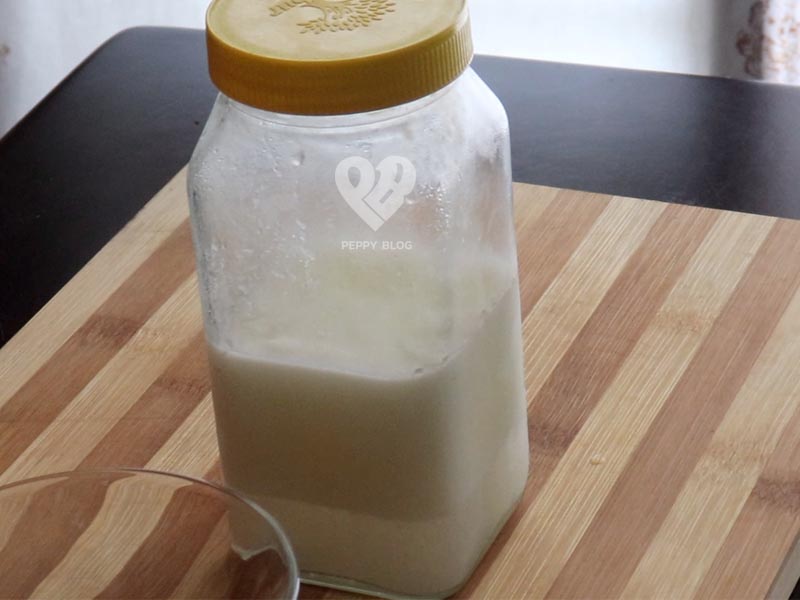
6. Refrigerate
Keep the coconut milk in the refrigerator overnight or up to 7-8 hours.
This helps the coconut cream to separate from the water and float above.
I left mine in the Freezer for 7 hours.
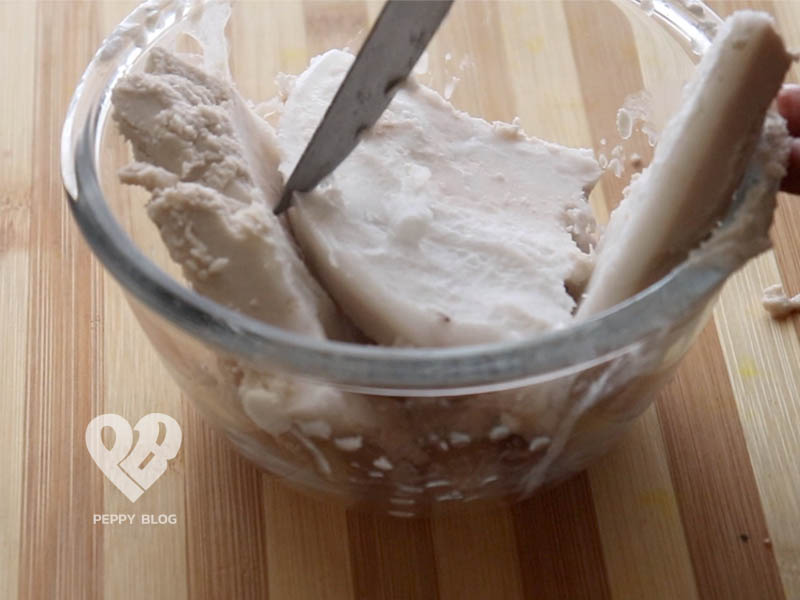
7. Scoop The Frozen Coconut Cream
Take the coconut cream layer from the water and to a separate bowl for fermentation.
Discard the water or you can use the left over water for cooking rice.
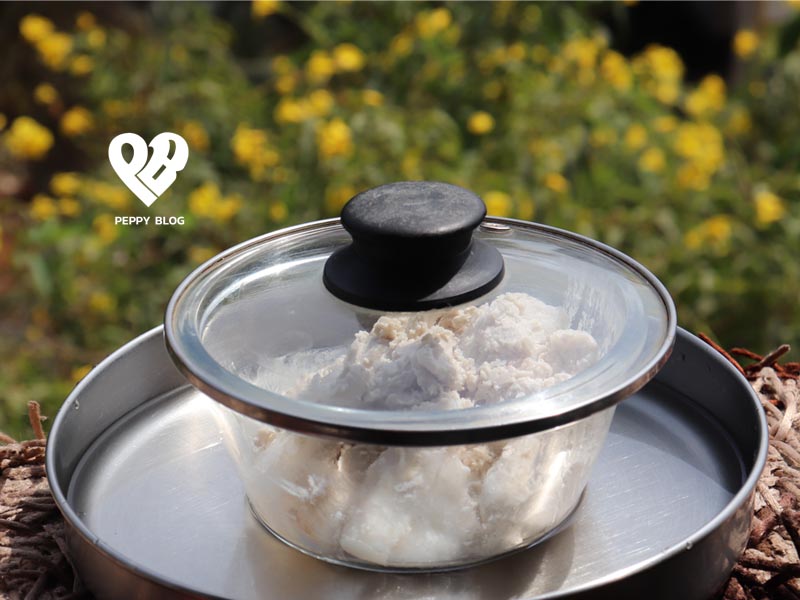
8. Let It Ferment
Fermentation process requires a warm temperature to kick start as i have already mentioned in my ‘How To Make Apple Cider Vinegar At Home’ post.
Cover the bowl and keep in a warm temperature.
In summers, you can leave it in the shade on your balcony just like i did.
But in winters, you need to keep it warm by covering with a blanket, towels or hot water bags.
I have placed the bowl in a plate of water to prevent insects and ants walking in to it. It happened before. Luckily i saw the line of Ants just in time.
I kept this out in the morning 9 AM.
Now it is 2 PM and in just five hours the fermentation process is completed. It takes less time to ferment in summers and a bit longer in winters.
So check around 5-7 hours and it should done.
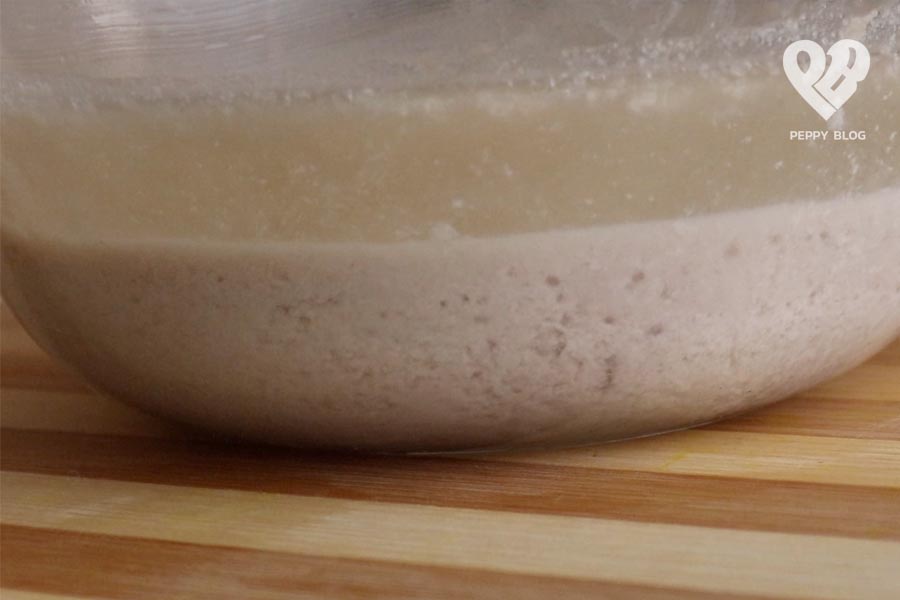
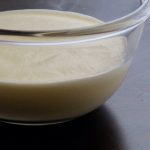
you can see the coconut cream fermented and the oil has separated from the coconut cream forming two layers.
The coconut oil on the top and the curd in the bottom.
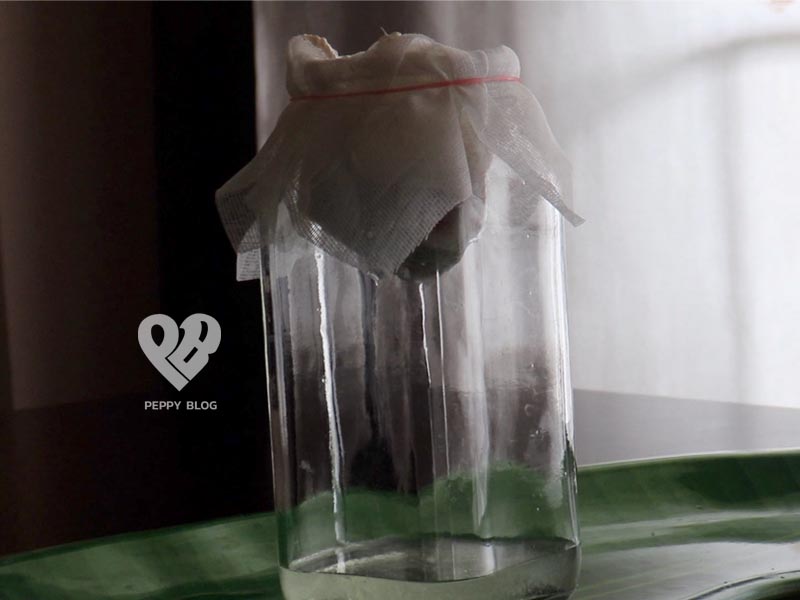
9. Filter The Coconut Oil
You can use a coffee filter or a clean piece of cloth to filter the oil.
I attached a rubber band to keep the cloth in place.
Slowly pour the oil in.
Empty both the curd and the oil in to the filter.
Use a larger Bottle or Jar than required. This will make it easy to leave the cloth bag hanging in it.
Never Squeeze
Once you have poured the contents in, leave the cloth bag there until the oil stops dripping.
If you squeeze the bag, the curd will turn in to a paste form and paste right through the filter which defeats the purpose of filtering.
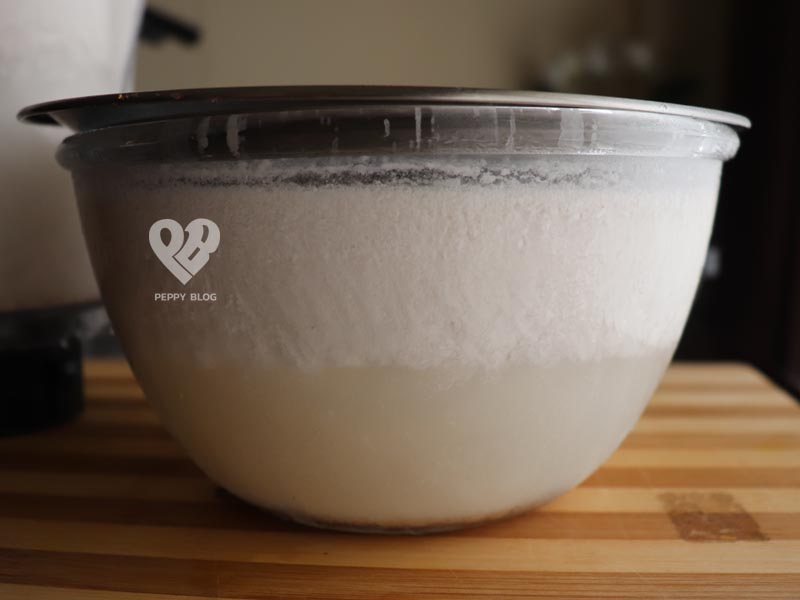
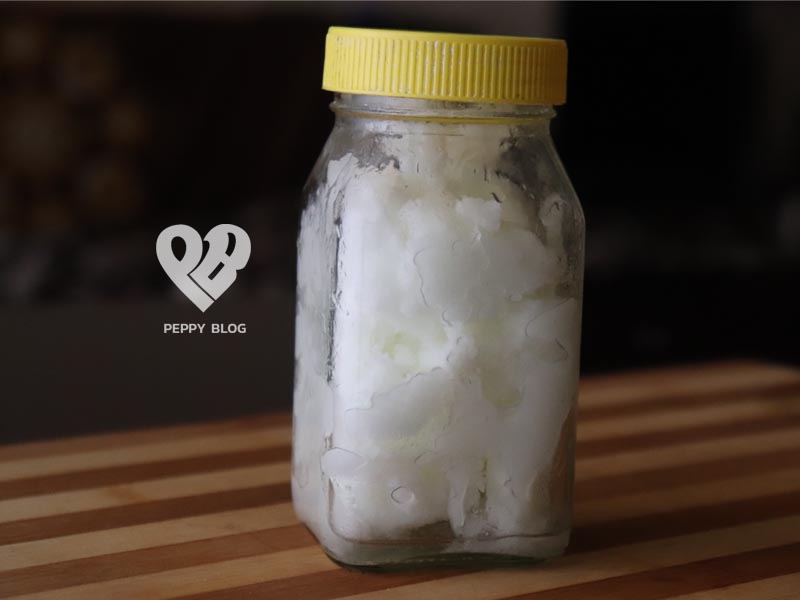
10. Refrigerate Again
Once the oil stops dripping, close the lid of the bottle.
Keep it in the FREEZER for about One Hour.
This is to remove the remaining water completely from the oil.

It should look like this. As you can see the coconut oil has frozen above a layer a water.
11. Scoop The Frozen Coconut Oil
We have reached the final step of the coconut oil making process. Just the final bit left. 🙂

Now we have pure unrefined virgin coconut oil.
None of the nutrients have been lost as we did not use heat in this recipe.
It does not contain preservatives and hence it could spoil.
There you have it. You have just learned how to make virgin coconut oil at home. Hope this article was helpful for you guys.
If you have any questions, just leave a message below and i would be happy to help.
That’s a great article about the preparation phase of Virgin Coconut Oil with in depth details. Really, the consumption of this magical super food, will impact the lifestyle in a healthy manner.